-1.png?width=325&height=55&name=Betco_logo%20rev%20(002)-1.png)
Tools required to unpack equipment
- Utility knife (or scissors)
- Philips #2 screw driver or power driver
- 9/16th inch socket wrench
Required steps to unpackage equipment
Note: Ensure you have ample space to maneuver machine off pallet without obstacles
- Remove box from pallet, starting at shorter end of box
- Retrieve pad driver boxes and squeegee and set aside
- Cut and remove bands securing machine to pallet
- Lift recovery tank to open position and access battery compartment
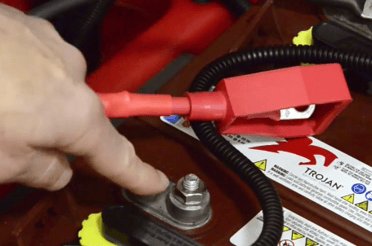
- Connect loose positive lead wire to open positive battery post
- Review technical bulletin for proper battery tightness to avoid damage to battery
- Use screw driver to remove wheel blocks
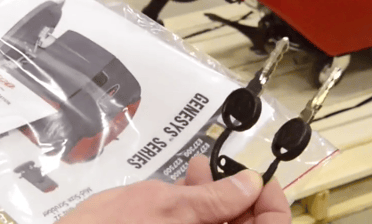
- Access key located within manual packet
- Power machine on and set scrub deck to transport mode
- Lower provided ramp
- Set speed control to low
- Back machine off of pallet by pressing bail handle forward
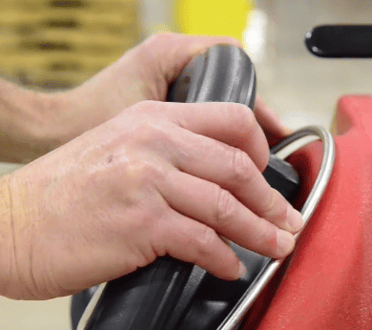
- Install squeegee assembly on rear of machine via squeegee knobs
- Align squeegee knobs with bracket on rear of machine
- Place squeegee assembly on bracket, hand tighten knobs until unable to turn
- Attach water recovery hose to squeegee assembly via red port

- Install pads, pad drivers, or alternatively install scrub brush to scrub deck
-
-
-
Disc scrub deck with pad driver
- Remove pad retaining clip
- Center pad on pad driver
- Press pad retaining clip back into position
- Align pad drivers with drive hub under scrub deck
- Use pad driver auto-on feature
- Turn machine on
- Select lowest speed
- Select medium down pressure (setting #2)
- Engage bail switch to lock pad drivers into position
-
Orbital Scrub Deck
- Align rectangular pad to pad driver on scrub deck
- Ensure front of pad is 1/2 inch forward of drive plate
- Press corners of pad into scrub deck followed by pressing in sides and center to ensure proper attachment
- Align rectangular pad to pad driver on scrub deck
-
-
Installation video guide